Building utilities with Egeria
To create a utility that calls Egeria's OMAG Server Platform:
- To Configure it or OMAG Servers to run on it
- To start or stop servers
- To query the status of the platform and its servers
- To retrieve or update metadata
it is necessary to create a Java program with a main() method that includes the appropriate clients and API modules from Egeria and is packaged in a jar file.
The sections that follow take you through the common tasks involved in building a utility using the IntelliJ IDEA IDE.
Creating a new project
The project manages the files for your utility.
To add a new project to intellij, select New then Project from the File top-level menu of IntelliJ.

Select Java then set up the project SDK by selecting your Java 17 installed JDK and then click the Next button.
If this is the first time you are using IntelliJ you may need to click on the New... button and navigate to your install directory.

Leave the Create project from template option blank and simply click the Next button.

Add the name of the project in Project name and the directory where you want the project files to be stored in Project location.

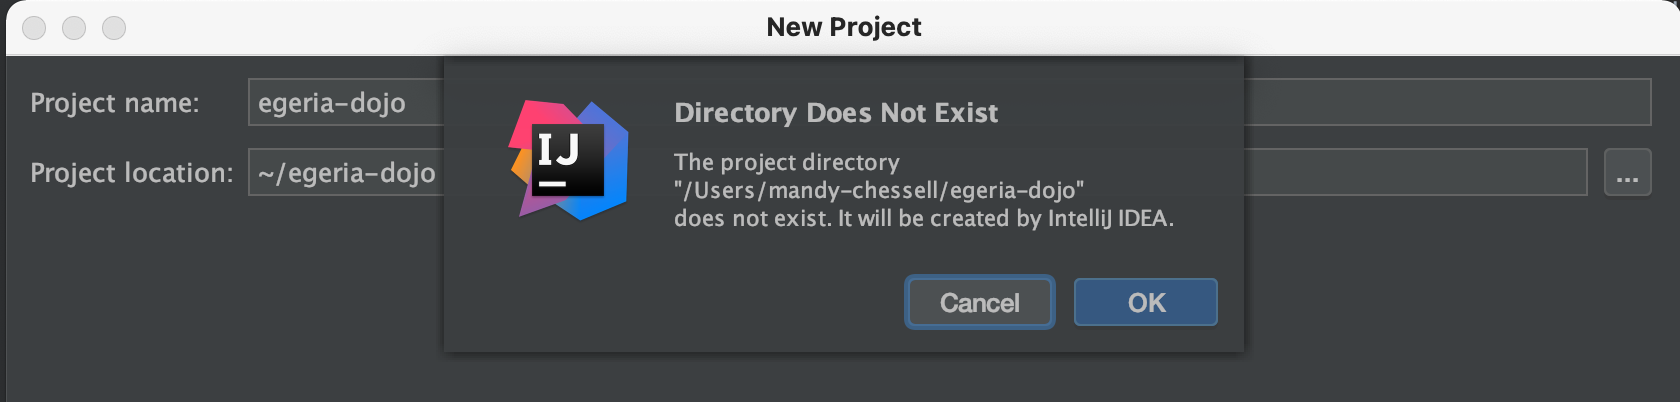
Click on the Finish button. If the directory is new, you may get this pop-up to confirm that the directory should be created. Click OK.
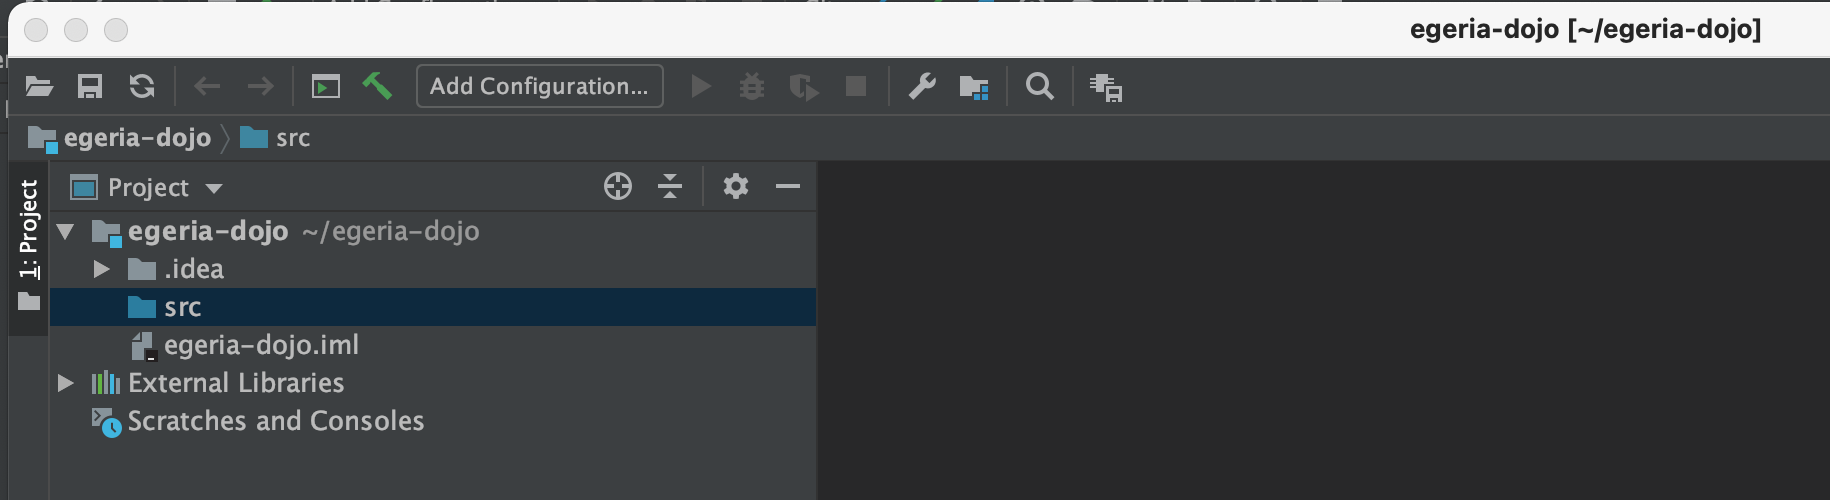
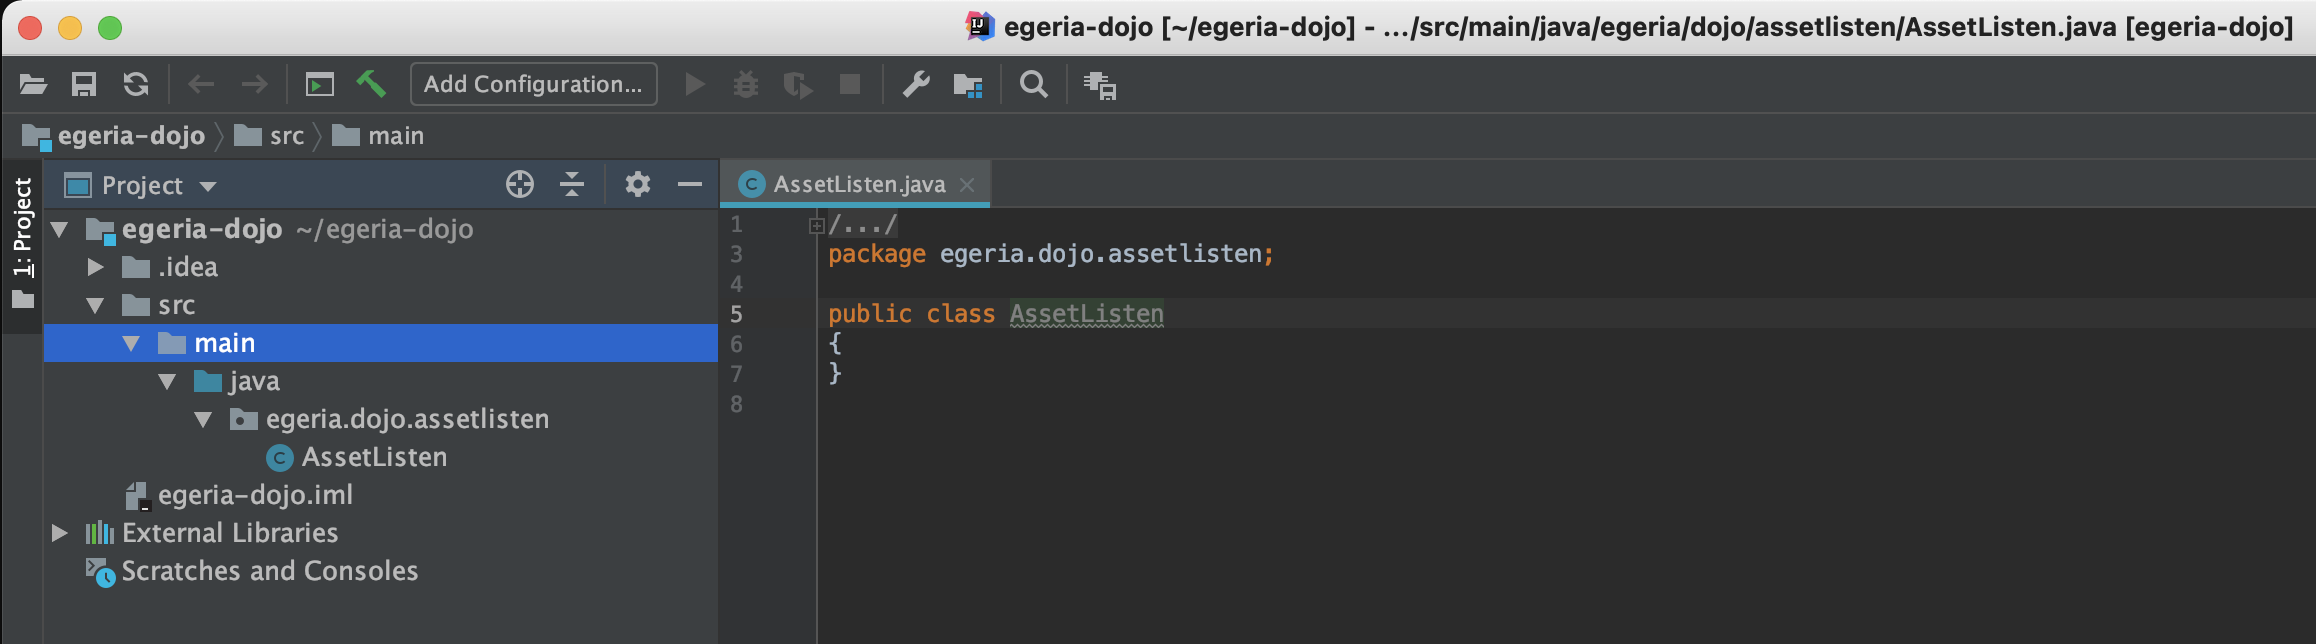
Once the wizard completes IntelliJ will open up your new project, ready to begin coding. The src directory is where your code will go.
Creating a new java package
To add a new Java package to your project, right-mouse click on the java directory.
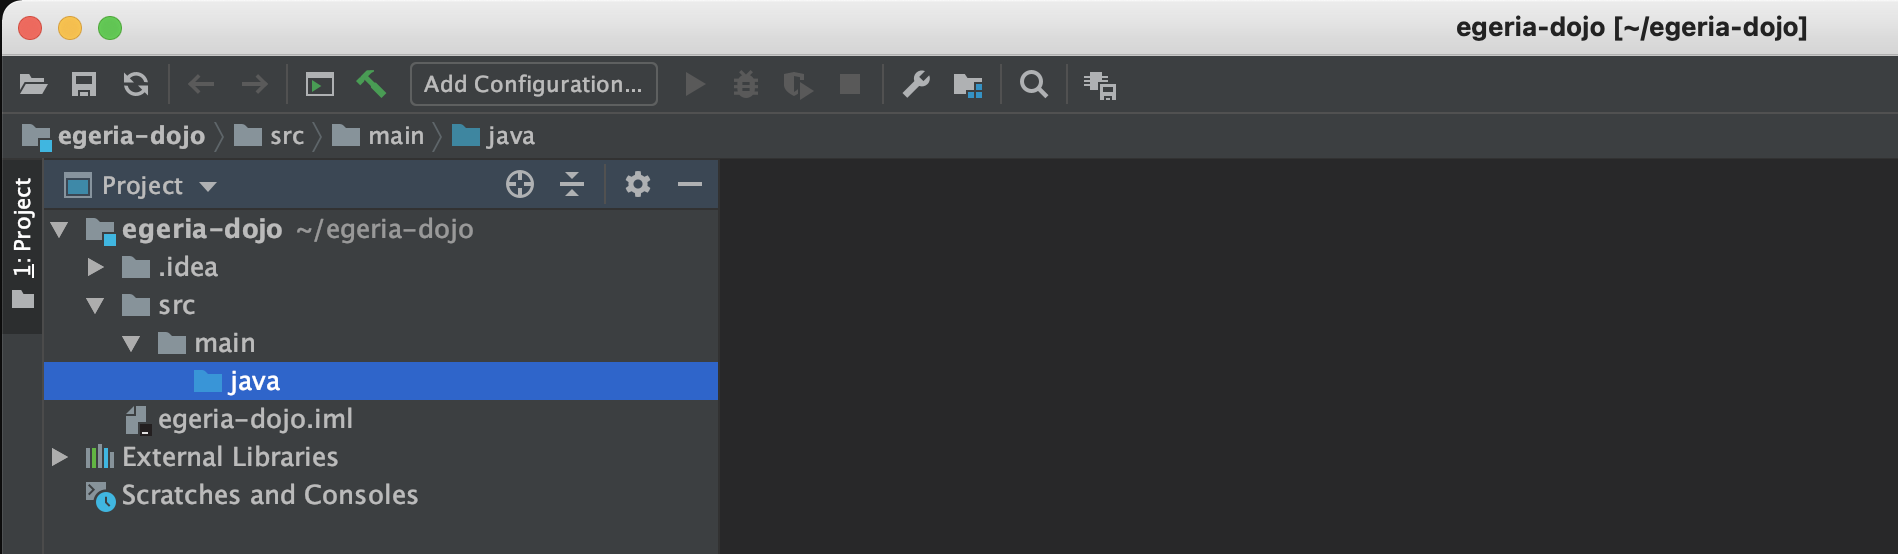
Select New then Package on the sub menu.

A pop-up box appears asking for the name of the package. Enter your new package name and press the OK button.
Java package names are in lowercase and are dot (.) separated.

The new package appears under src in the project list.
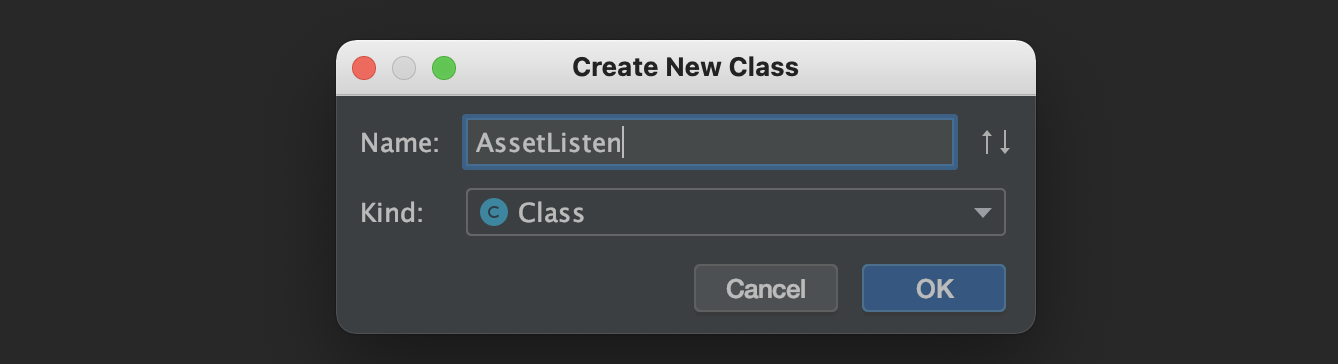
Creating a new java class
To add a new Java class to your project, right-mouse click on the package name and select New then Java Class on the sub menu.

A pop-up box appears asking for the name of the class. Enter your new class name and press the OK button.
The new class appears in the project list and the source file is open in the editor.
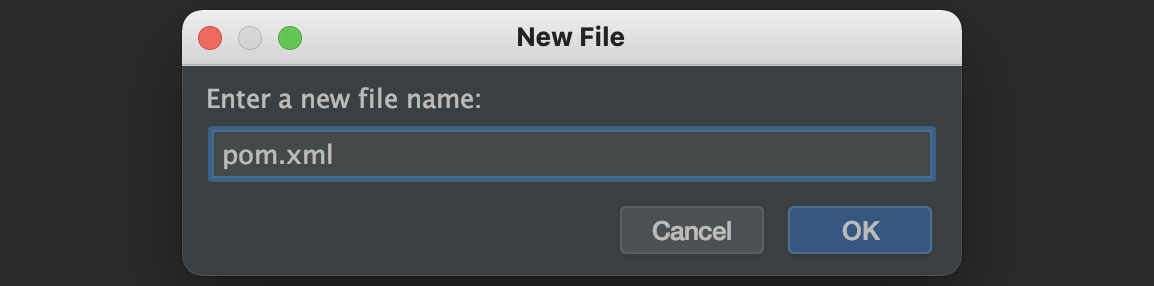
Creating a Maven POM file
A pom.xml is the file that controls an Apache Maven build. From IntelliJ, select the top level directory for the module (egeria-dojo in this case) and using the right-mouse menu, select New and then File from the sub menu.

Enter pom.xml as the file name and click OK.
Raise an issue or comment below