Git and GitHub Tutorial
Git is an open source version control system. The Egeria project uses git to:
- Store the source code, documentation and other file-based resources.
- Track changes to the underlying Egeria code as the project evolves
- Track issues and enhancements, and link these back to the code changes that resolve them
- Collaborate on and review the issues, enhancements and code changes
As a result, it gives us a definitive source for the latest and greatest source code for Egeria itself, its history, and the rationale behind various decisions that are made over time.
Egeria's git repositories on GitHub
The Egeria project's git repositories are located on GitHub . GitHub is a free, public git service for sharing code and related files. It has a web interface to make it easier for the Egeria community to monitor the activity in the project and process new content.
Egeria has the following repositories:
| Repository | Purpose |
|---|---|
egeria |
Egeria core |
egeria-docs |
Documentation repository for the Egeria project. |
egeria-workspaces |
Up-and-running Egeria environments using docker-compose. |
egeria-python |
Python library for Egeria |
All of these repositories are publicly visible. However, if you want to create a fork then you need to create a GitHub account. This can be done from the top of the GitHub home page . See the GitHub help pages for more information.
General tasks for all community members
This tutorial covers common tasks associated with using Git and GitHub to work with the Egeria content and make a contribution.
- Getting a GitHub user log in - This is required to add anything - even a comment - to the Egeria project's repositories.
- Creating an Issue on GitHub - Issues are used by developers to describe a contribution. They are also used by consumers of Egeria to request help with function they think is not working.
- Installing Git on your local Machine - Git provides the commands to manage Egeria's content on your local machine.
- Downloading Egeria to build and run - If you do not want to make changes to Egeria, but want to build the distribution file to run it natively on your machine then follow this task. If you want to be able to make changes to Egeria and contribute them back to the community, then follow the contributors tasks.
Getting a GitHub Id
Although all the git repositories on GitHub are public, it is necessary to have a GitHub id to work with the Egeria content.
Creating a GitHub account can be done from the top of the GitHub home page.
Select the Sign up option.
Once you have created your account then sign in.
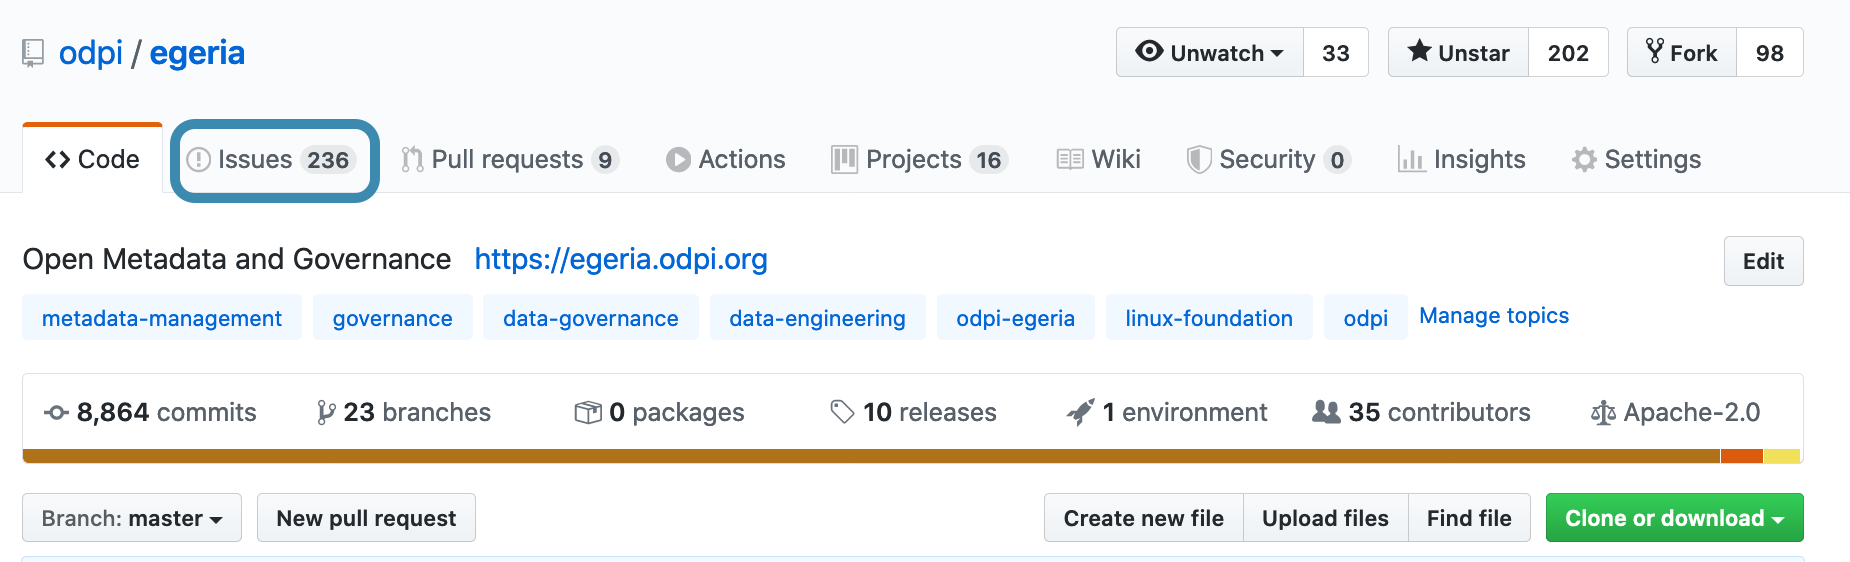
Creating an Issue on GitHub
Every contribution begins with a git issue.
Go to GitHub and click on the second tab marked Issues.
Click in the new issue green button on the top right hand side and a form for a new issue is displayed.
Enter a meaningful title and description. This will help the maintainers understand your contribution and speed up the process to include it.
Notice that it is possible to use Markdown tags to create highlights and links to content to explain what you are doing.
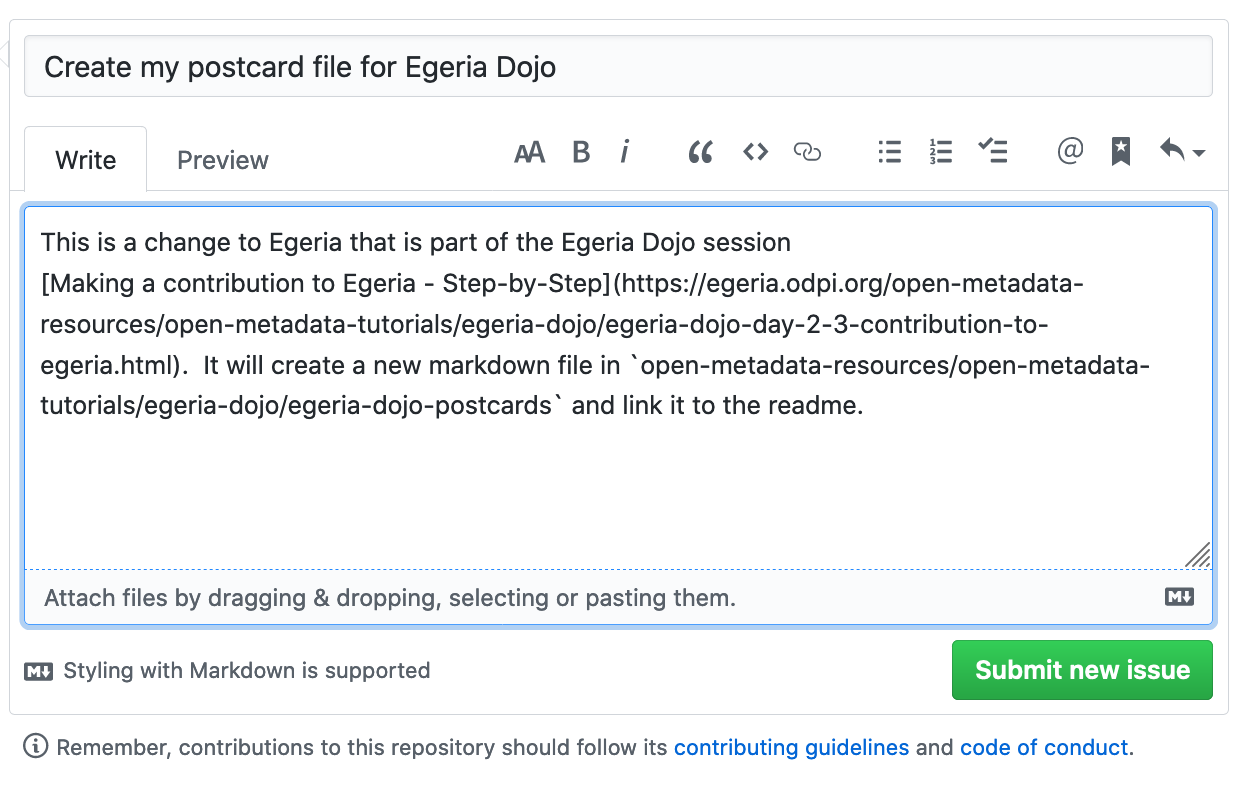
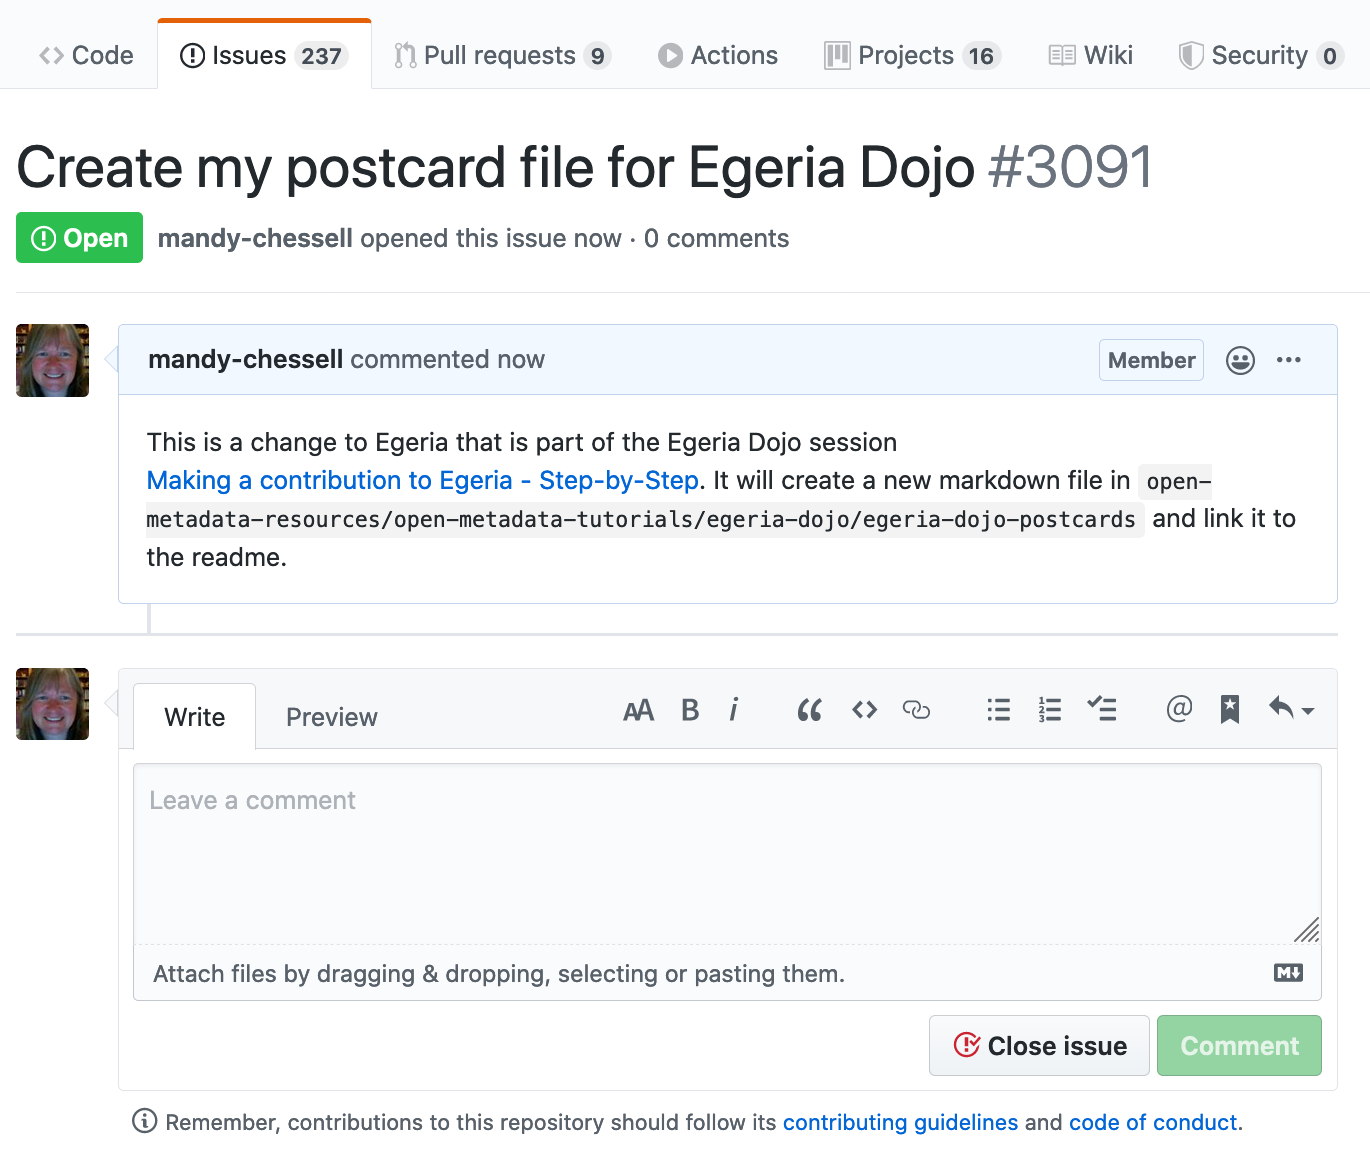
When you are happy with your text, click on Submit new Issue. A new issue is created and
assigned a new number - #3091 in this example.
Make a note of this issue number because you will need it later.
Now you are ready to work on your contribution.
Installing Git on your local machine
Git is an open source version control system used to store and manage Egeria's files. You need it installed on your machine to work with Egeria's git repositories stored on GitHub.
You can check whether it is installed on your system by running git --version from the command-line.
Git can be installed:
- On MacOS, as part of the Xcode suite (running
git --versionwill prompt you to install it if it is not already installed). - On Linux operating systems, by using your distribution's package manager (
yum install git,apt-get install git, etc). - On Windows, you should use Windows Subsystem for Linux Version 2 or above, install an appropriate Linux distribution, and follow the instructions for Linux.
For more information, see the official Git installation guide.
Cloning the Egeria Source using git commands
The code for Egeria is downloaded from each git repository one at a time. The commands shown in each tab below create a clone (copy) of the egeria git repositories for your own use.
When to use a fork and clone rather than a simple clone
If you want to make a contribution to Egeria, or wish a simple way to refresh your copy with the latest code, you need to create a fork and clone your fork rather than cloning the main repository itself.
Create a new directory for Egeria's main libraries. In the example below it is called egeria-main-libraries:
mkdir egeria-main-libraries
Change to your new directory.
cd egeria-main-libraries
Egeria's source is extracted from GitHub using the following git command:
To retrieve the code for a specific release of Egeria enter
git clone -b egeria-release-{release-number} --single-branch https://github.com/odpi/egeria.git
git clone -b egeria-release-3.14 --single-branch https://github.com/odpi/egeria.git
To retrieve the latest "SNAPSHOT" code from the main branch of Egeria enter:
git clone https://github.com/odpi/egeria.git
A new directory has been created with the core Egeria source code. Change to the egeria directory and you are ready to build the source.
cd egeria
Create a new directory for Egeria's workspaces.
mkdir egeria-workspaces
Change to your new directory.
cd egeria-workspaces
Egeria's workspaces files are extracted from GitHub using the following git command:
git clone https://github.com/odpi/egeria-workspaces.git
A new directory has been created with the workspaces' source code. Change to the egeria-workspaces directory and you are ready to build the source.
cd egeria-workspaces
Create a new directory for Egeria's documentation.
mkdir egeria-docs
Change to your new directory.
cd egeria-docs
Egeria's documentation is extracted from GitHub using the following git command:
git clone https://github.com/odpi/egeria-docs.git
A new directory has been created containing the documentation. Change to the egeria-docs directory and you are ready to build the documentation.
cd egeria-docs
Create a new directory for Egeria's python function.
mkdir egeria-python
Change to your new directory.
cd egeria-python
Egeria's python code is extracted from GitHub using the following git command:
git clone https://github.com/odpi/egeria-python.git
A new directory has been created containing the code. Change to the egeria-python directory and you are ready to work with python.
cd egeria-python
The ls command allows you to list the files from the repository:
ls
It should be the same as the contents of the git repository on GitHub.
Using Git and GitHub when making a contribution
The tasks below describe how to use Git and GitHub to create a contribution to the Egeria project. The contribution process using Git and GitHub is illustrated in Figure 1.

Figure 1: Git and GitHub contribution flow
The tasks below step through this process:
- Creating a Fork and a Clone
- Creating a Branch in a git repository
- Adding your changes to a git repository
- Adding your contribution to Egeria
In addition, there are further tips for using Git.
Creating a fork and a clone
The git repositories for Egeria are read only to everyone except the Egeria Maintainers. This is to protect the content from accidental or malicious damage.
However, anyone wanting to make a contribution needs
editing access to the repositories to make the change and test it.
This is achieved with the git fork and git clone.
Forking
Forking creates your own version of the egeria git repository that is linked back to the original.
Figure 2 illustrates the forking process.

Figure 2: Forking an Egeria git repository
To create your fork, from your browser, navigate to the appropriate url for your repository:
- Egeria GitHub URL,
- Egeria Workspaces GitHub URL,
- Egeria DocumentationGitHub URL,
-
Log into the github UI with your GitHub id. You will then see a 'Fork' button at the top right, and should click this to create your own fork to work with Egeria.

This only needs to be done once.
Cloning
Once you have your fork, you need to create a copy of the repository on your local machine. This copy is called a clone. You create a clone each time you are starting a significant piece of work.
Figure 3 illustrates the cloning process.

Figure 3: Cloning an Egeria git repository
To create a clone on your machine enter the following in a new directory from a terminal/command window.
Replace USER with your GitHub userId.
$ git clone https://github.com/USER/egeria.git
$ cd egeria
$ git clone https://github.com/USER/egeria-workspaces.git
$ cd egeria-workspaces
$ git clone https://github.com/USER/egeria-docs.git
$ cd egeria-docs
$ git clone https://github.com/USER/egeria-python.git
$ cd egeria-python
The git clone command creates a new directory called egeria containing the Egeria content.
You should also set the upstream repository to connect your clone to the main Egeria repository:
$ git remote add upstream https://github.com/odpi/egeria.git
$ git remote add upstream https://github.com/odpi/egeria-workspaces.git
$ git remote add upstream https://github.com/odpi/egeria-docs.git
$ git remote add upstream https://github.com/odpi/egeria-python.git
Now you are ready to create a branch for your changes.
Further information
- Further details of GitHub's fork and pull model,
- Further details on the fork command.
Creating a branch for your work
Once you have a clone of the git repository there is one more step before you can begin developing.
Most development work is done on your local clone with occasional calls to GitHub to synchronize with its versions of the repository.

Figure 4: Local development process using git
The top level branch (copy) of a git repository is called main.
It is recommended not to make any changes directly to main
but just to use it for reference and as a basis for branching.
It is also recommended to create a new branch for each distinct set of changes. This keeps the commit history pushed to Egeria clean, and makes reviews of the code much easier for the maintainers. Since GitHub manages the introduction of new content on a branch basis it is also a way to be able to easily rework, by updating a change later before it has been incorporated back into the main Egeria code.
First update your copy of main in your clone and push to your GitHub fork.
$ git checkout main
$ git pull upstream main
$ git push
Once you have the latest code on your machine, create a branch for your changes. The commands below set up a branch called "example-branch" based off of main, and also push it back to your personal fork:
$ git checkout -b example-branch main
$ git push origin example-branch
When you create your own branch, use a name that describes that the branch is for as you will use it for all changes you are collecting together to push as one group to Egeria. This name will be publicly visible too once you start pushing your changes to Egeria so keep it clean :).
You can also see that 'origin' will point to your GitHub fork, whilst 'upstream' points to the Egeria main branch:
$ git remote -v

origin https://github.com/USER/egeria (fetch)
origin https://github.com/USER/egeria (push)
upstream https://github.com/odpi/egeria.git (fetch)
upstream https://github.com/odpi/egeria.git (push)
Now you can make your changes to the content.
Adding your changes to your git clone
Once you have completed your contribution, you are ready to add it to your git clone.
Most development work is done on your local clone with occasional calls to GitHub to synchronize with its versions of the repository.
Figure 4: Local development process using git
Issue the git status command in a Terminal/Command window to verify all of your changes are
included. This will list any new files and files that have been changed, but not yet included
in the git clone. Use git add to add all of the files you want included.
For example:
$ git status

On branch example-branch
Untracked files:
  (use "git add <file>..." to include in what will be committed)

    new-file.java

$ git add new-file.java
$ git status

On branch example-branch
Changes to be committed:
  (use "git reset HEAD <file>..." to unstage)

    new file:   new-file.java
Now you are ready to commit your contribution to your clone.
Adding your contribution to an Egeria git repository
Once you have prepared a contribution and these changes are added to your clone, you are ready to commit the changes and push them to your clone on GitHub.

Figure 5: Pushing changes to GitHub
Below is the command to commit your changes. Make sure to use the -s option to sign your changes (see Why the DCO?) and the -m option to provide a useful commit message. In the message you can make use of special strings to directly link to GitHub issues. By doing this others following the issue will see the commits to your fork easily so can track the work going on even before you submit to the egeria repository.
It is also essential to push the changes from your local machine up to GitHub ready for the next step.
$ git commit -s -m 'Best code change ever as per Issue #1433'
$ git push
If you think there is ongoing work in a similar area to that of your changes, you may find it useful to pull the latest main code prior to completing your changes.
$ git pull upstream main

Figure 6: Pulling latest changes from main
and then making any necessary changes to merge conflicts, and commit/push as above.
Creating a pull request
Pull requests are created on GitHub, so go to your browser window.
The easiest way to create a pull request is by navigating to your local fork of the Egeria repository eg. https://github.com/USER/egeria, selecting your working branch, and clicking on 'pull request'. Add an explanation and links to any GitHub Issues that are relevant to your change, and then submit the pull request.
GitHub automatically validates that you have signed all of your commits and that any code builds.
The Egeria maintainers will then review and if all is well, it will be merged into the main branch and you have officially made a successful contribution to the project. Congratulations :).
Further changes can be done using the same branch, and will be added to the same pull request automatically until the pull request is merged into main.
Cleaning up
Once all work has been completed, including changes appearing in main, only then can your temporary branch be deleted:
$ git branch -d example-branch
$ git push -d origin example-branch
You may need to use -D if not all changes are merged, but check carefully!
Additional git tips
If you are working locally, and realise you have accidentally been making changes on main instead of another branch:
$ git stash
$ git checkout -b correct-branch
$ git stash pop
Messed up your main branch?
$ git checkout main
$ git fetch upstream
$ git reset --hard HEAD
$ git push
Correct your last commit
$ git commit --amend -s -m "New commit message"
View recent changes
$ git log
View recent changes in a prettier way:
$ git log --pretty=format:"%h %ad | %s%d [%an]" --graph --date=short
Take a fix you have pushed to a different branch (perhaps a top-level pom change, or something else you need) and apply it to your current branch:
$ git cherry-pick <commit-id>
Raise an issue or comment below
Raise an issue or comment below