Introduction to the hands on labs
The final session in day one of the Egeria Dojo is to use our Kubernetes helm charts to set up the infrastructure for Egeria's hands on labs. These labs attempt to show a rich metadata environment in action, allowing you to experiment with different concepts and APIs.
The scenario is based on a hypothetical pharmaceutical company known as Coco Pharmaceuticals. When you start working through the labs you'll be able to read a lot more about their business & Egeria environment.
These labs make use of a similar container-based environment to that you have used so far, but coco has a more complex environment with more Egeria platforms.
For the learning experience we have made use of Jupyter notebooks which can combine text and code. This is also included within the container environment
Installing the labs
First, delete the Helm chart you used in the last part of the tutorial.
$ helm delete base
Now, install the Coco Pharma environment
$ helm install lab egeria/odpi-egeria-lab                                [15:16:18]
NAME: lab
LAST DEPLOYED: Fri Jan 14 15:16:33 2022
NAMESPACE: base
STATUS: deployed
REVISION: 1
TEST SUITE: None
NOTES:
ODPi Egeria lab tutorial
---

The Egeria tutorials have now been deployed to Kubernetes.
It may take a minute or so for everything to start up.

Open your web browser and go to addressofmycluster:30888 to
get started

You may need to contact your cluster admin, or read your cloud provider helptext to understand
the correct 'addressofmycluster' to use.

If you experience problems, check memory consumption on your nodes. A minimum of
a 3 node cluster, 2GB per node; or a desktop environment with 6GB dedicated is recommended.

Please provide any feeback via a github issue at https://github.com/odpi/egeria or
join us on slack via https://http://slack.lfaidata.foundation

- The ODPi Egeria team
$ kubectl get pods                                                              [15:18:39]
NAME                                                READY   STATUS    RESTARTS   AGE
lab-odpi-egeria-lab-core-0                          1/1     Running   0          2m7s
lab-odpi-egeria-lab-datalake-0                      1/1     Running   0          2m7s
lab-odpi-egeria-lab-dev-0                           1/1     Running   0          2m7s
lab-odpi-egeria-lab-factory-0                       1/1     Running   0          2m7s
lab-odpi-egeria-lab-jupyter-566b454754-s972k        1/1     Running   0          2m7s
lab-odpi-egeria-lab-nginx-c59d4d646-lszj4           1/1     Running   0          2m7s
lab-odpi-egeria-lab-presentation-6d5856c88c-qwgm8   1/1     Running   0          2m7s
lab-odpi-egeria-lab-ui-5dc645655c-f2g7m             1/1     Running   0          2m7s
lab-odpi-egeria-lab-uistatic-866fdd59f8-hwzg7       1/1     Running   0          2m7s
lab-strimzi-zookeeper-0                             1/1     Running   0          114s
strimzi-cluster-operator-7d96cbff57-ltbrz           1/1     Running   0          2m7s
We can also see the services that have been created:
$ kubectl get services
NAME                           TYPE           CLUSTER-IP       EXTERNAL-IP                         PORT(S)                      AGE
lab-core                       ClusterIP      172.21.11.152    <none>                              9443/TCP                     8m15s
lab-datalake                   ClusterIP      172.21.62.188    <none>                              9443/TCP                     8m15s
lab-dev                        ClusterIP      172.21.175.163   <none>                              9443/TCP                     8m15s
lab-jupyter                    ClusterIP      172.21.115.243   <none>                              8888/TCP                     8m15s
lab-nginx                      ClusterIP      172.21.191.19    <none>                              443/TCP                      8m15s
lab-odpi-egeria-lab-factory    ClusterIP      172.21.61.87     <none>                              9443/TCP                     8m15s
lab-presentation               ClusterIP      172.21.46.53     <none>                              8091/TCP                     8m15s
lab-strimzi-kafka-bootstrap    ClusterIP      172.21.13.3      <none>                              9091/TCP,9092/TCP            6m4s
lab-strimzi-kafka-brokers      ClusterIP      None             <none>                              9090/TCP,9091/TCP,9092/TCP   6m4s
lab-strimzi-zookeeper-client   ClusterIP      172.21.230.190   <none>                              2181/TCP                     8m1s
lab-strimzi-zookeeper-nodes    ClusterIP      None             <none>                              2181/TCP,2888/TCP,3888/TCP   8m1s
lab-ui                         ClusterIP      172.21.114.202   <none>                              8443/TCP                     8m15s
lab-uistatic                   ClusterIP      172.21.174.139   <none>                              8080/TCP                     8m15s
Explanation of what has been installed
From the above list of pods we can see
- Four Egeria platforms (core, datalake, dev, factory) - the use of these will become clear when you start the tutorials
- The Jupyter server for hosting our notebooks
- The Egeria Ecosystem UI (as you used earlier in this dojo)
- Kafka/Zookeeper for messaging, as provided by Strimzi
- An additional UI - one lab will be using this
Port forwarding
As before we need to enable access to some of these containers from your local environment using the 'kubectl port-forward' command.
Most of the interaction with the notebooks is via the jupyter server, so we run:
$ kubectl port-forward service/lab-jupyter 8888:8888
Forwarding from 127.0.0.1:8888 -> 8888
Forwarding from [::1]:8888 -> 8888
As you progress through the labs, if you are interested in experimenting with postman, then you may need to setup port forwarding for other services too. If so, run each in the background, or in separate windows as they must continue running whilst you are working through the labs.
Start working on the labs
Open up a web browser and go to http://localhost:8888
You should see a window similar to this:
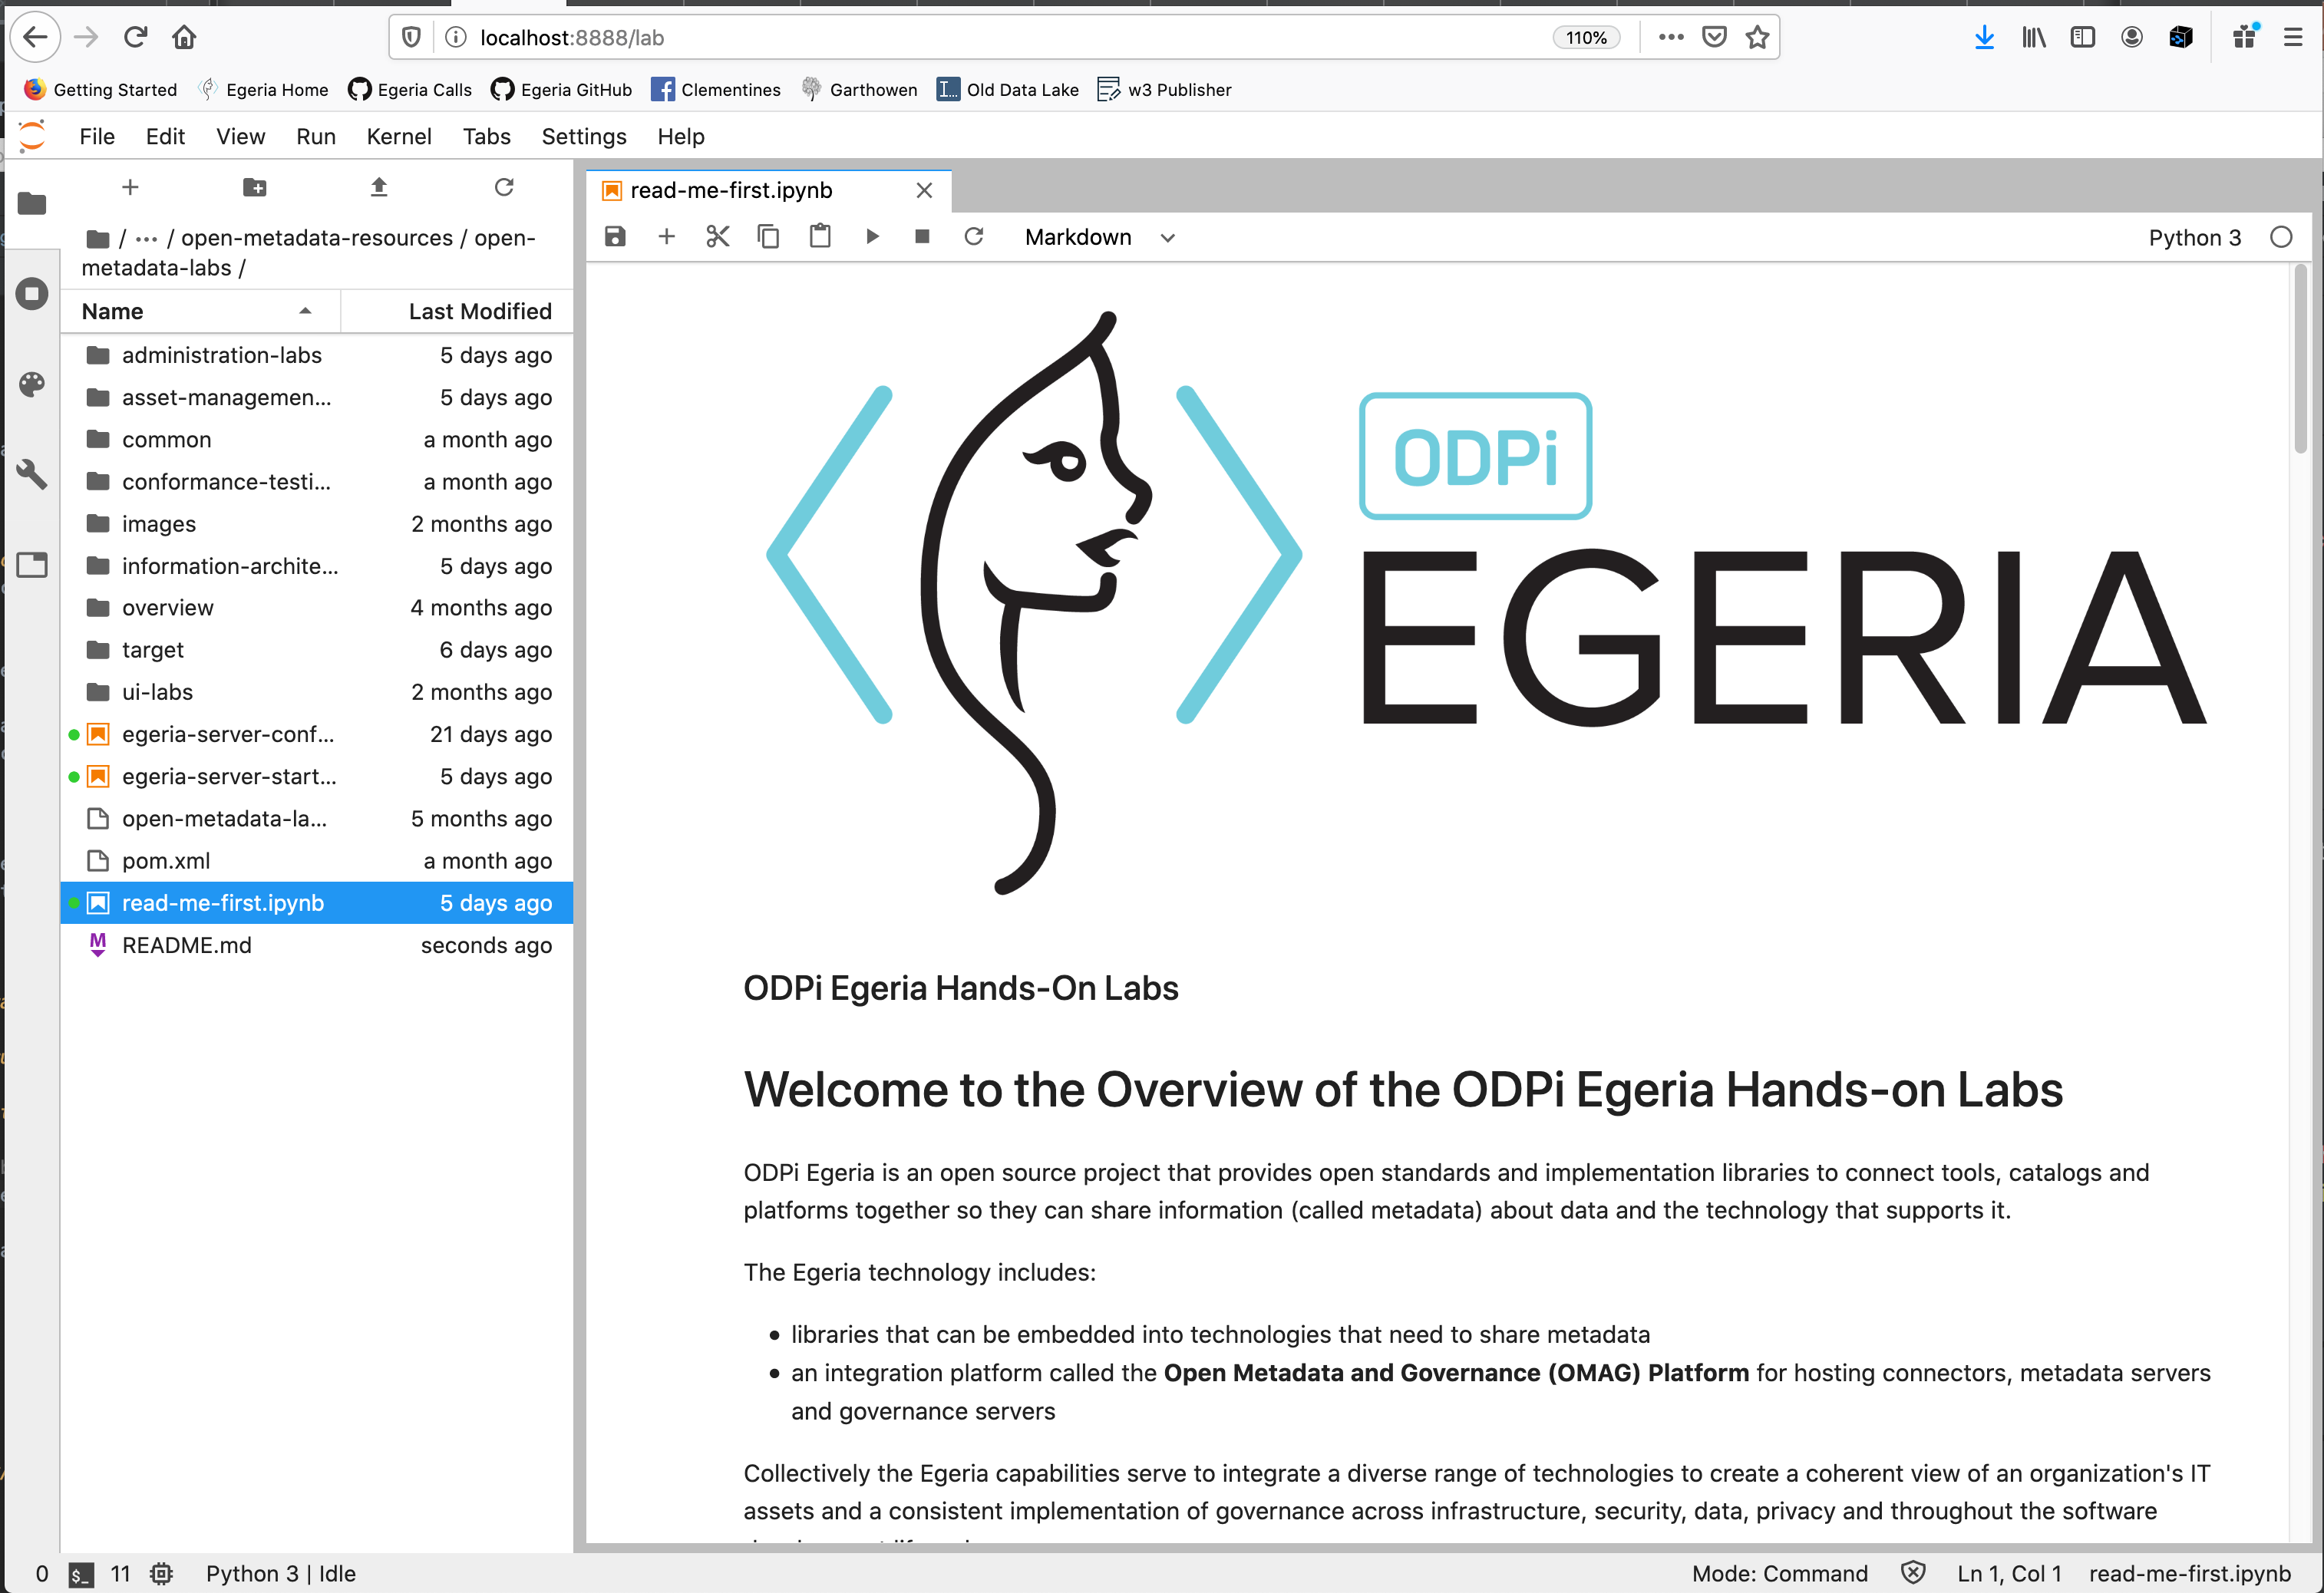
In the navigator on the left of this Windows, navigate to the read-me-first and start following the instructions. We've tried to add lots of explanation at each stage to guide you through how Egeria can be used in a real environment.
There is more material to run in the Open metadata Labs than can be done in this dojo. The purpose of this session is to ensure that you can set up the environment so you can run it at you leisure when every you want to.
In addition, these labs (like everything else in Egeria) is evolving rapidly so it is worth checking back from time to time to see what is new. This also means some of the labs are incomplete. Visit the slack channel to check if you get problems.
Using the Ecosystem UI with Coco Labs
As you work through the labs, you may also wish to explore the metadata instances, and server configuration that this more complex environment has setup.
Make sure you are still running the required port forwarding for the ui
kubectl port-forward service/base-presentation 8091:8091
You'll notice the URL is slightly different to before. This is because coco in the above URL refers to the organization configured in the UI deployment (how to set this up will be covered in a future dojo). For our simple install this defaulted to the name org.
Next step
Let's move on to a summary
Raise an issue or comment below